Wiki / Enemies & Bosses / Named boss encounter
CONTROL Resonant Central Resonant — Wiki
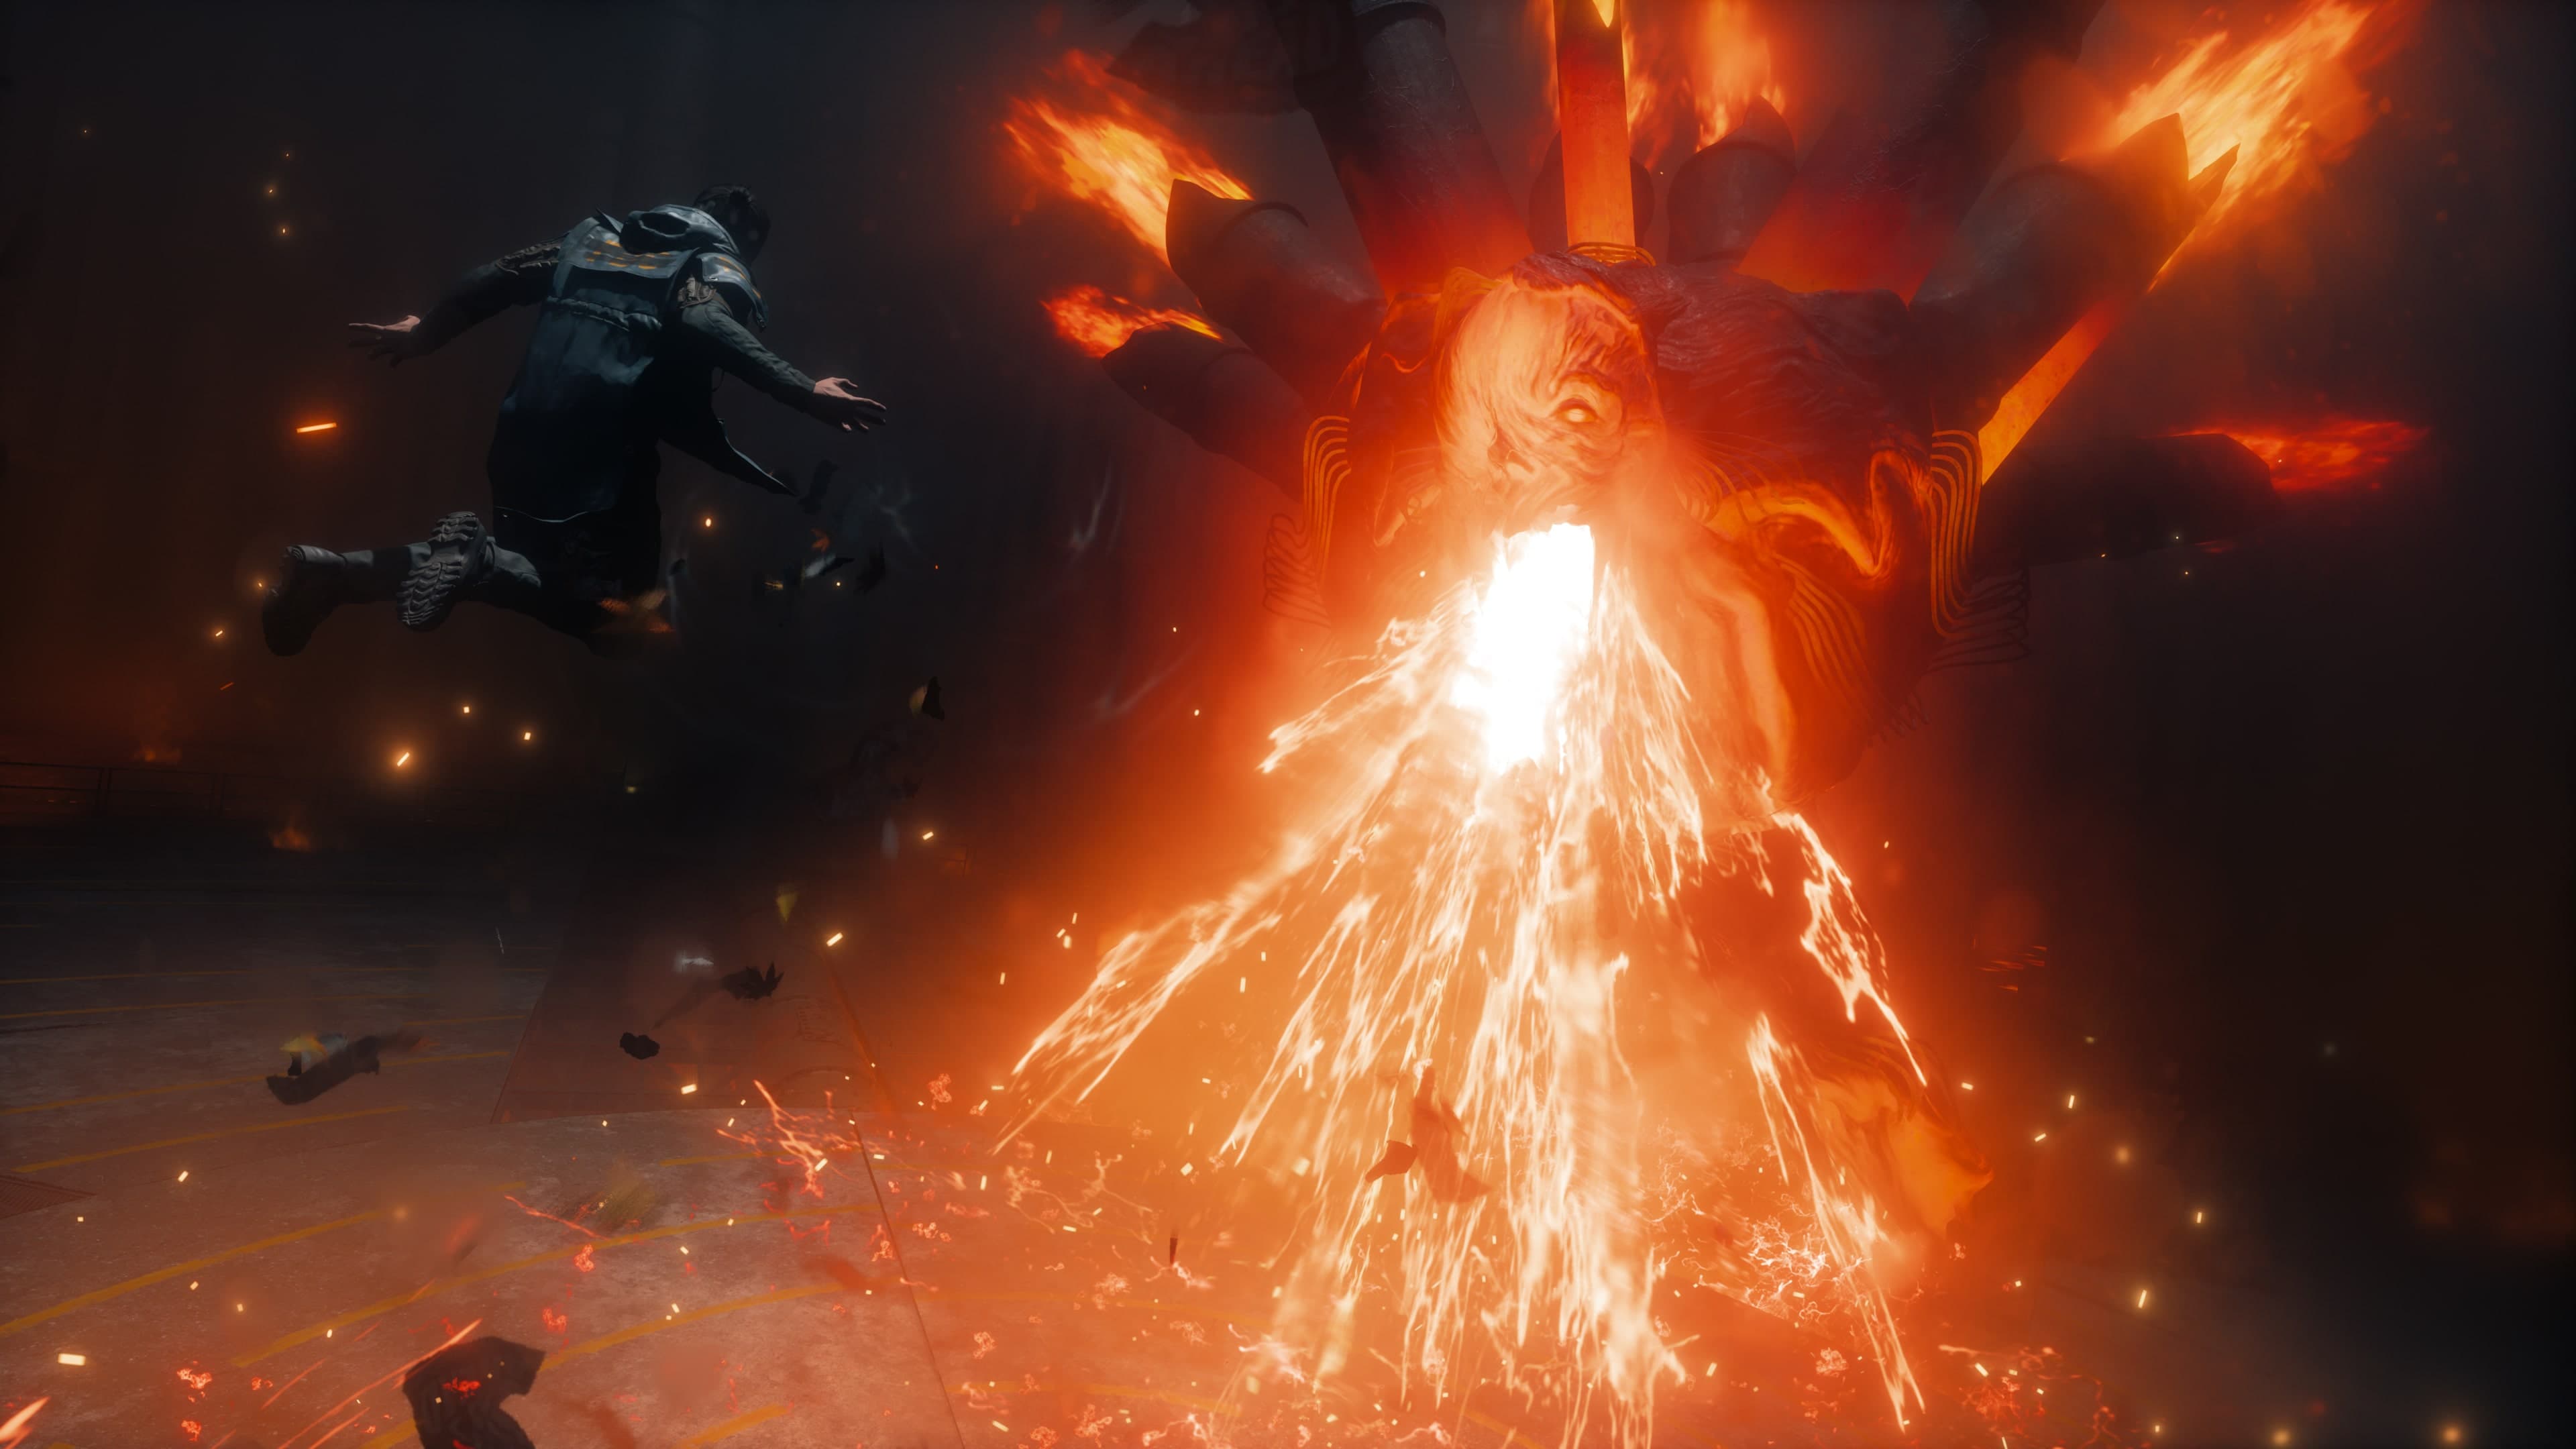
A previewed Resonant battle whose arena is shaped by lava-like ground hazards and magma attacks.
Case file / quick facts
Central Resonant at a glance
- Encounter class
- Resonant boss
- Shown hazards
- Lava-like ground and magma projectiles
- Reward type
- Resonant victories grant Combat Ability choices
- Exact reward
- Not established by the preview
- Related system
- The Aberrant
- Related place
- Manhattan
- Related mission
- Metro Fault
- Related threat
- First Resonant Entity
Field comparison
Central Resonant: what to diagnose in an attempt
The published encounter footage identifies arena and attack hazards, but not a complete retail move list or a guaranteed safe spot.
| If the attempt fails because… | What the preview shows | What to test |
|---|---|---|
| The floor cuts off an approach | Lava-like ground is part of the arena. | Keep a traversable exit before committing to melee pressure. |
| A ranged attack interrupts you | Magma projectiles are shown. | Watch the attack cue and time a dodge before rebuilding the whole loadout. |
| You run out of ability resource | Remedy says melee hits restore Combat Ability resource generally. | Use safe melee openings to rebuild power; do not assume a boss-specific refill rule. |
| A repeated cue remains too fast | Assist Mode can adjust dodge timing, projectile speed and damage. | Change only the setting causing the problem and retest; exact boss timing needs retail play. |
02 / Field notes
What makes the encounter distinct
The published boss footage names the Central Resonant and shows fire and magma defining the fight space. The ground hazard matters because staying aggressive for ability resource must be balanced against keeping a safe route through the arena.
From what we can see, the floor hazards and projectiles are the main pattern to respect. We still do not have final health, resistance or phase data, so we would not call any setup a guaranteed win.
03 / Field notes
Progression and strategy
Remedy's broader combat explanation says major Resonants grant new Combat Abilities, sometimes with a branching choice. The exact ability granted by this particular fight has not been established by its public preview.
For now, we would learn the hazardous floor and projectile windows. Once we can test the retail fight, we will move the frame-by-frame strategy into a dedicated Guide.
04 / Field notes
Separate the named fight from the boss class
The Central Resonant preview shows a specific fight built around fire and magma hazards. Remedy says major Resonants grant supernatural abilities, but we have not found this fight's exact reward choice.
An earlier hands-on describes a different, unnamed partial-head Resonant using telekinetic debris. We keep the two encounters separate rather than treating them as two names for one boss or a complete boss order.
05 / Field notes
Separate arena pressure from loadout pressure
The footage tells us to watch the floor hazard and projectiles. If Dylan cannot close in, we would first decide whether the arena route or the attack timing is the real problem. We have not seen a reliable safe tile, exact phase order or required Form yet.
Combat Abilities and Aberrant Forms can be compared by role, but this encounter's exact reward has not been established. The connected ability file explains the general boss-reward system without assigning a specific drop to the Central Resonant.
What this means for your run
Central Resonant: what players need to know
From the footage, we would plan around the arena hazard and attack cues first. We are not relying on pre-release claims about exact drops or damage weaknesses.
Use Central Resonant in a step-by-step guide
We keep the facts and context in this Wiki file. When you need to turn them into a decision or route, continue with the connected guide.
Read the boss preview guide